Quick Color Cast Correction
Here is a simple method to correct for an unwanted Color Cast, where there is a predominant color that exists, either due to poor lighting, yellow lighting, fluorescent lighting or any other problem. This method, while not the most accurate and precise method, is a great quick way to fix your images.
Step 1
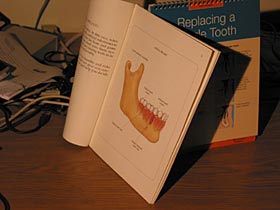
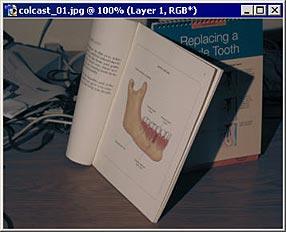
First, open the image where the color cast exists. In this image, I found that there was too much orange.
Instead of worrying about adjusting the color using a Color Balance adjustment layer, which often takes a lot of trial and error, I’m going to do something much more easier and let the laws of color take over the image.
Step 2
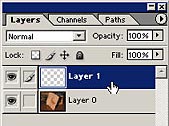
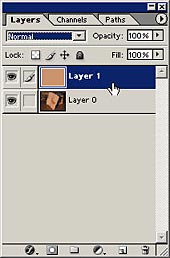
Create a new layer above the image layer. For this exercise, it’s ok if your image layer is on a Background layer.
Step 3
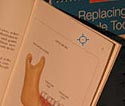
Use the Color Sampler tool to pick out an area of the image that should be white. In this case, the page of the book worked well, as it should be white, and not orange. When you sample the color, it will default to your foreground color (shown below right).

Step 4
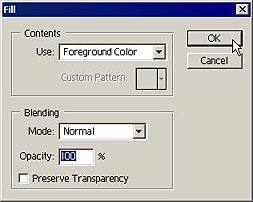
With the top empty layer selected, go into Edit -> Fill, and "Use" the Foreground color at 100% Opacity in "Normal" Blend Mode. This fills the top layer with the Orange color.
Step 5
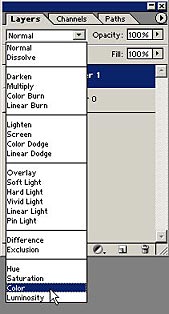
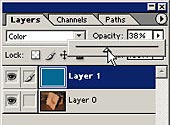
Next, change the Blend Mode of this layer to Color.
Step 6
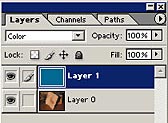
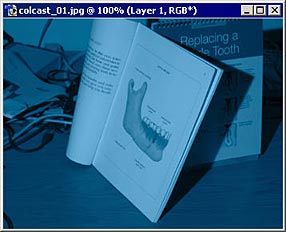
Next, invert the layer’s color by clicking Ctrl+I. Instead of Orange, your image will take on a highly blue tint. The reason we invert the color is to counterbalance the effect that the Orange has on the image. Since the laws of color deem that if you remove one color you inevitably add another, we can counteract the Orange by adding more of its opposite. By switching the Blend Mode to Color, we are ensuring that the tone remains unaffected, and only the color will change in the image.
Step 7
Obviously we have produced a color cast in the opposite direction, which is not what we want for our result. So reduce the Opacity to somewhere between 20 and 50%. This opacity setting is largely dependant on how strong your color cast is in the first place. The worse your color cast is, the higher you will want your Opacity percentage to be. In this case 38% gave me the results I was looking for.
Here is the final image:
The beauty of this correction method is that not only is it fast and versatile, but it also leaves your original image untouched. Add to that the fact that you can adjust the Opacity slider to any degree you like well after you are finished with the image. So if you come back in a year’s time and decide you want to change the correction, you can.
I hope this helps you when you retouch your imagery. This seems to be a technique I come back to often, because there is just so much bad lighting out there. I even created an action, for this technique, and it's become one of the ones I use often. It's one of the many actions available for sale in my Photo Toolbox Collection. Don't forget to visit my Freebies page for other Photoshop downloads as well.
Until next time, keep on pushing those pixels!