Using Presets part 2 (The Preset Manager)
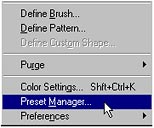
Many of the Presets that I sell in my catalog pages can be loaded into Photoshop via the "Preset Manager". To open the Preset Manager, go to Edit -> Preset Manager.
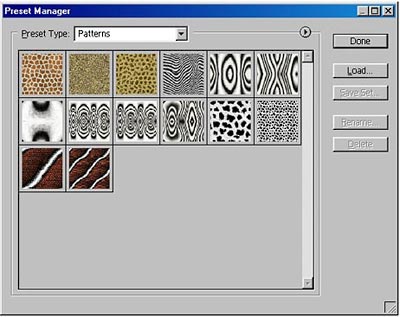
The following dialog box will open:
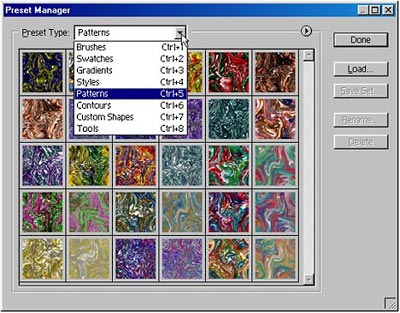
Notice that the "Preset Type" drop-down arrow displays the various Presets that are available to be loaded. This manager was new to Photoshop 7 I believe, however it provides a single area where you can sort and organize the majority of Photoshop's Add-On files. In this instance above we are looking at a set of Patterns that I have loaded into the Manager.
To Load a new set, click on the Load button located on the right side of the dialog. The following browse dialog will open. You can then navigate to a set of Add-Ons (in this case, Patterns) to be loaded in the program.

Note: To change the type of Add-Ons you want to work with inside the Preset Manager, simply switch to a different "Type" via the Preset Type drop-down arrow.
In addition, you must load the proper type of file into the proper Add-On category. For example, you cannot Load Patterns into the Brushes category. Each Photoshop Add-On has its own specific extension, in this case ".PAT" for Patterns.
When you load a set of Add-Ons, Photoshop appends the Add-Ons to the current file. This means you will see your original Add-Ons and the newly loaded Add-Ons will be found at the bottom of the list.
If you prefer (which I most definitely do), you can overwrite the currently loaded list in favor of the new list instead. Be very careful when doing this, however, because unless you saved your Add-Ons in a file on your hard drive, the Currently existing Add-Ons will be lost. Before performing this step, I always save my Add-On files first, if I haven't already done so.
In the case of the Add-On files located on the CD, feel free to overwrite any ones you wish. They will not be lost or deleted, as they are already static on your CD.
To replace (overwrite) the currently loaded Add-Ons, do the following:
Step 1
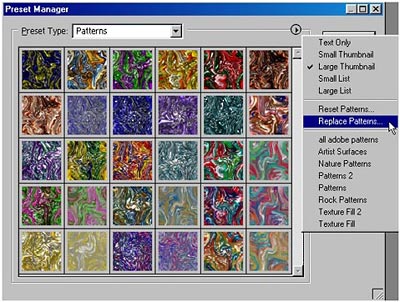
Click on the small sideways pointing arrow next to the Preset Type drop-down field.
Step 2
Next, click on the "Replace Patterns" command.
Step 3
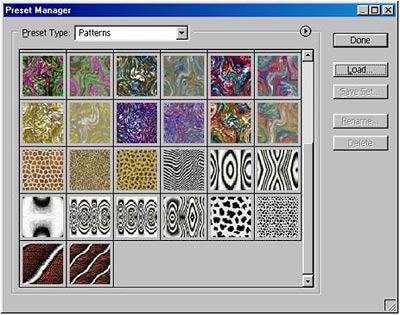
Navigate to the proper Add-On file to replace the currently loaded Patterns.

Notice that the new set overwrites the old set.
When you are finished with the Preset Manager, you can click on the Done button in the top right corner of the dialog box. From that point forward, wherever Patterns are available, these are the patterns that will be recognized by the program. Don't worry, you can also load patterns on-the-fly from within the Edit -> Fill command dialog box, or from inside the Brushes Option bar, when the mode is set to "Pattern".
Hopefully, this has given you a short introduction to working with your Presets using the Preset Manager.