Watermarking your Digital Images
This is a frequently asked question amongst the people I talk with on the Photoshop boards, and I thought I would show you a very simple way to watermark your images so that they remain unusable to other people and to protect your work. There are many ways to watermark the image, and traditionally it is done by embossing the paper with a copyright notice or the artist’s name. Digitally, this is a simple procedure, and one that anybody can apply. In this tutorial, however, I’m going to show you an alternative to embossing your watermark that works on almost any image you choose.
So let’s get right into it shall we?
Step 1
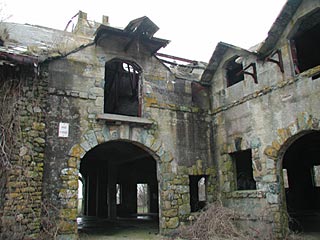
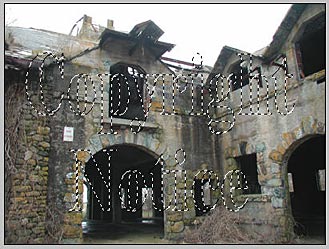
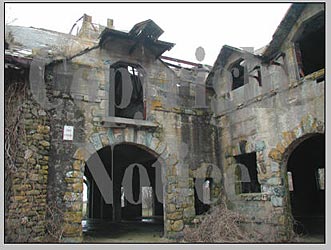
First, select the image you want to watermark. Here, I’ve selected an abandoned home in Rhode Island. I loved taking some photos of this old relic that was falling apart so fast that I had to hop a fence in order to take the pictures, as it was fenced off by the local authorities. I don’t condone this behaviour, but sometimes you have to do it for art’s sake.
Step 2
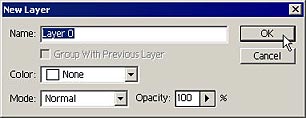
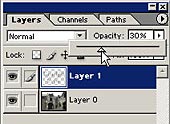
Once you have your image open, convert the Background layer to a normal layer by double-clicking on the layer in the Layers Palette. Then clicking OK in the New Layer dialog that opens.
Step 3
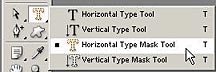
The next step is to select the Horizontal Type Mask Tool in the toolbox. This will create an outline selection of the text as you type it over the image.
Step 4
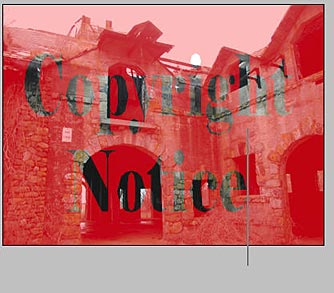
Select a rather large fat font for your copyright notice. Then type it over the image. Don’t worry if it is not placed exactly the way you want over the image. We will fix that in a moment. When you are done, click the green checkmark in the Options bar, which commits your type to a selection.
Here is the font selected over the image:
Step 5
If you want to change the location of the watermark, select the move tool from the toolbox, and drag the text to the location you desire. In order for you to do this, you must first drag from inside the selection, not outside. So select the Move tool, and then select inside the text selection and drag it where you want.


Step 6
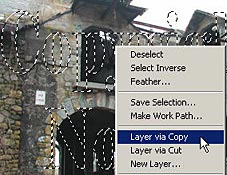
When you have the text in the proper location, right-click from inside the text selection and select Layer via Copy. This will take the contents of your image that is within the text selection and move it to a new layer.
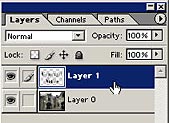
Notice the new text layer. The image at right shows what this new layer looks like with the original image layer hidden:

Step 7
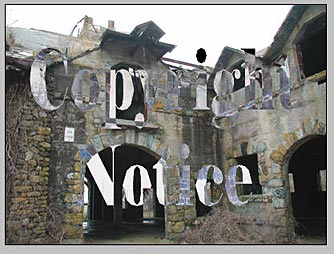
With the top text layer selected, press Ctrl+I. This inverts the contents of the text layer (watermark) above the original image. In most cases this results in a highlighted text layer that still shows through the image below. This top layer is a negative version of the image below.
Middle Gray Problems
The upside to this method is that it works on virtually any image. The only downside is if you have large portions of your image a solid middle gray (RGB: 128/128/128). Because this solid gray cannot be inverted, if large portions of your image are made up of this gray, you won’t see any change. However, most images are made up of enough difference that the watermark will show through nicely.
Step 8
The next step is to reduce the Opacity of the watermark layer. I usually use a setting between 25 and 35 to achieve a nice watermark notice over the image.
Step 9
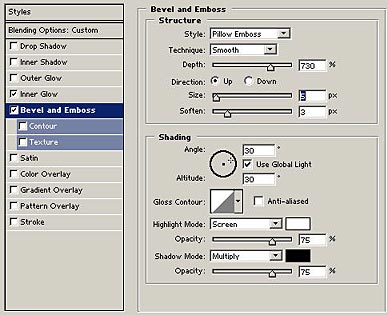
As a final (Optional) step, you can further customize the watermark by adding a layer Style or two. In the images below, I added a Bevel & Emboss style to the text layer. You don’t have to add this style, but I think it provides an additional customized touch.

One last thing to keep in mind. Be sure you have placed your text before you copy the layer. Because you create a copy of the original image, if you try to move the text after it is copied, it will throw off the image by moving portions of the image around. The reason this trick works so well is that it contains a duplicate of the original image in the exact location as the original underlying image. And this is what you want. So be sure the copied watermark is not moved around.
This technique also works equally well for objects in place of text. Using this method you can place anything as a watermark over your image, such as logos, or other images. The key is to create the selection, copy it and then invert it. This is a simple trick, which yields a nice result in my opinion, without distracting you from the actual image. Feel free to download the action for this tutorial, and visit my Freebies page for other action downloads.
I hope this helps you protect your images from being stolen. Until next time, have a great time working with your images and designs.