Creating a Wood Pattern
Creating a Wood Pattern is an interesting way to become familiar with the Filters that Photoshop has. Trying to recreate the natural world is a huge undertaking however, and too much of any one filter can ruin the realism of your wood. For this tutorial, I'm going to create a very general wood pattern that you can use for anything from a background to a frame, to anything your imagination can think up. So let's get started.
Step 1
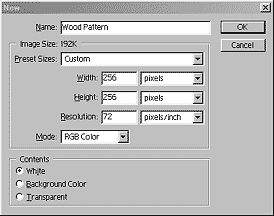
First create a new image that is 256 x 256. I usually create all my patterns with this size in mind, because this is the size that is usually easier to repeat. A little known fact about Photoshop: When using the Clouds or Difference Clouds filter, the pattern will always repeat itself. Leave the settings as shown at right.
Step 2
Next, select two wood colors. Usually a dark brown or reddish tone. Whatever color you choose, try to make the colors fairly darker or lighter than each other. If your colors are too close together on the color wheel, they are not going to punch out at you in the wood we are creating. So vary it a bit. And here's another good tip for you. If you like a specific wood, turn it into an image and open it in photoshop. Then you have the ability to sample it using the eyedropper. This will add to the realism of the wood. This is how I came up with most of my wood frames in the goodies section. It also makes color selection a snap!

Step 3
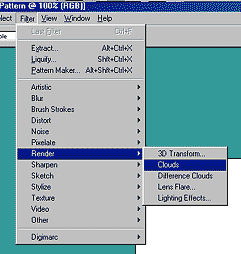
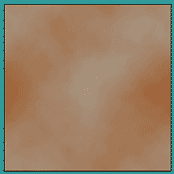
Go into Filters -> Render -> Clouds and notice the cloud pattern that is added to your image. This may wow you now, or you may be bored to tears. Either way, this will set up the basis for your wood.
Step 4
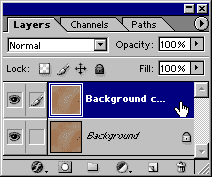
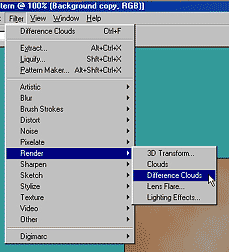
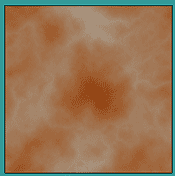
Next, duplicate the layer you have. and then go to Filters -> Render -> Difference Clouds. Run this filter several times, always being sure to keep it an even number. I usually run it about 6-8 times on the same layer. This adds definition to the cloud pattern.
Step 5
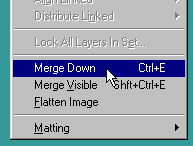
When you have run your Difference Clouds filter a number of times, merge the layers down by going into Layers -> Merge Down. This puts both cloud layers on one single layer that can be edited.
Step 6
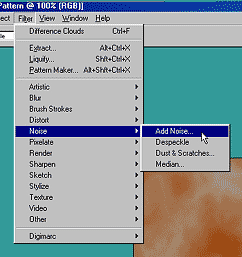
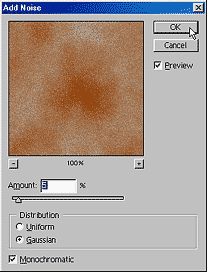
The next step is to start giving your wood some shape. To do this, we will be using nothing more than the Filters that come pre-packed in Photoshop. First go into Filters -> Noise -> Add Noise, and enter the settings at right. Usually a setting of 2-10 is sufficient. Making it Monochromatic is a must, simply because your noise will not have any wild or stray color this way. Monochromatic simply means coming from a single color... Light and dark tones that will be added.
Step 7
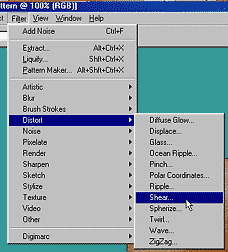
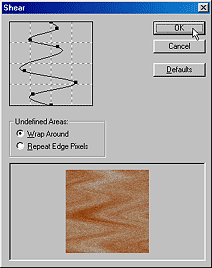
Next, we are going to get a little more creative. This time go into Filter -> Distort -> Shear. I input these settings you see at right, however feel free to experiment. Any kind of shearing will add some character to your wood. Keep one word of caution in mind, however, and that is keep it simple, and don't overdo it. Too much shearing, and you can see exactly what you've done. And our object in this exercise is to trick the eye and make it look like it is a realistic wood pattern. Also make sure you use the "Wrap Around option, as this will make the pattern seamless at it's own edges, and the shearing will look folded into itself at the edges.
Step 8
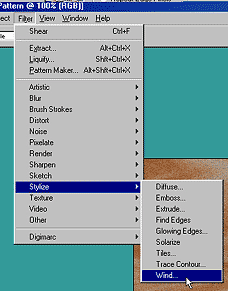
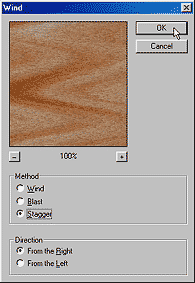
Now the wood needs a little direction definition. Go into Filter -> Stylize -> Wind, and select Stagger as your method. You can repeat this step if you like. Here I repeated it twice to give some more definition.
Step 9
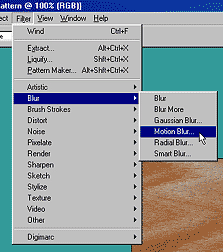
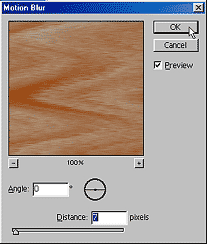
Now, we're going to go over the top a little and go into Filter -> Blur -> Motion Blur and enter a setting between 3-10. This will make your image a little more fuzzy, but also give it a little bit of a smoother feel.
Step 10
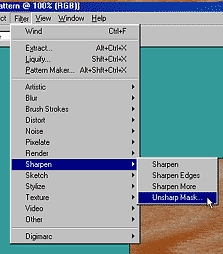
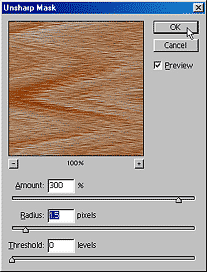
Since I like my wood a little more granular, and much more rough, I usually finish off with Filter -> Sharpen -> Unsharp Mask. And for this specific project I entered the following settings.
And here is the finished product:
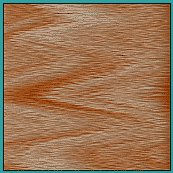
As with all patterns, and any texture you create you will come to find that nothing is set in stone (or in wood in this case). Experiment with these basic settings I outlined above, and you will find that you can create a variety of woods. I've even used the Chrome filter to create some varieties of wood. Two other filters I would suggest using is the Dry Brush filter (Filter -> Artistic -> Dry Brush) and the Grain Texture (Filter -> Texture -> Grain). These can yeild some interesting wood patterns.
To see an interesting display of woods, and how they can be used, visit my Wood Frame Action Set. And most of all, have fun with it.